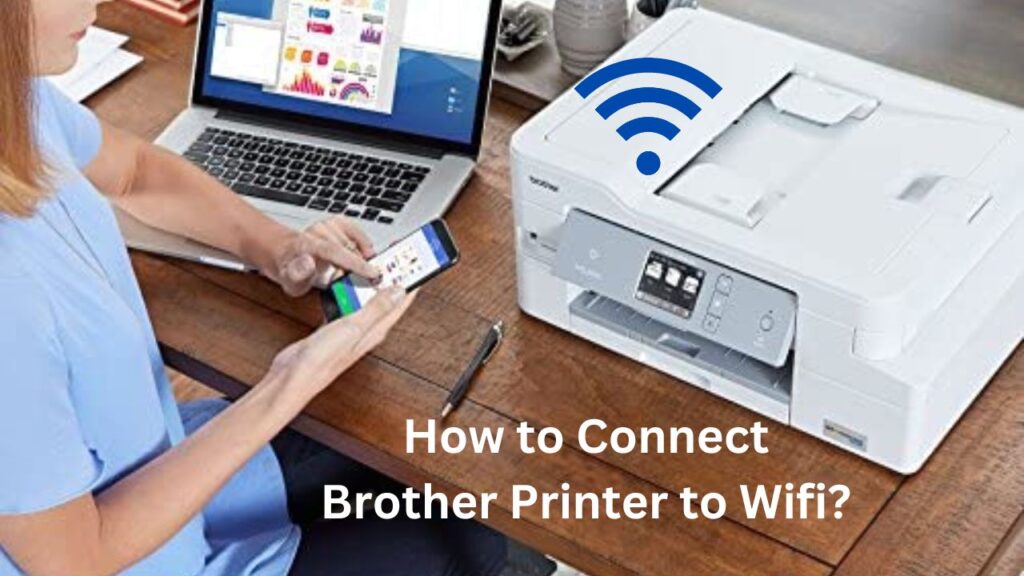
Connecting your Brother printer to your WiFi network can be done swiftly and effectively by following these clear steps.
Power Up Your Printer
Ensure your Brother printer is turned on. Look for a lit green power light to confirm that the device is ready for setup.
Activate Wireless LAN
If the Wireless LAN light on your printer is off, press and hold the green Power button until the light flashes blue, indicating that the wireless function is active.
Initiate Connection on iOS
On your iOS device, navigate to Settings and select Wi-Fi. From the Devices list, choose your printer’s name and tap ‘Join Anyway’ to initiate the connection.
Secure Your Connection
For security, enter the password, which is typically the last five characters of your printer’s serial number, found on the bottom of the device.
Enable Auto Join
To simplify future connections, tap the ‘I’ icon next to the printer name in your WiFi settings and enable the ‘Auto Join’ feature.
Set a Static IP
In the WiFi settings, select the Static tab and enter 169.254.100.5 as the IP address. For the subnet, input 255.255.0.0.
Finalize Settings
Confirm your settings by tapping the ‘I’ next to the printer name again. To ensure all settings take effect, power cycle your iOS device by turning it off and on after five seconds.
Re-establish Connection
If your iOS device doesn’t automatically reconnect to the printer, manually navigate to Settings > Wi-Fi and select your printer to reestablish the connection.
Helpful Hints for Troubleshooting
Ensure your router is properly set up and that your WiFi is secure. If issues persist, consider rebooting your router and printer, or contact Brother Customer Service for additional support.
Final Thoughts on Wireless Printing
By completing these steps, your Brother printer should now be successfully connected to your WiFi, allowing for seamless wireless printing. Enjoy the convenience of printing from anywhere within your network.
